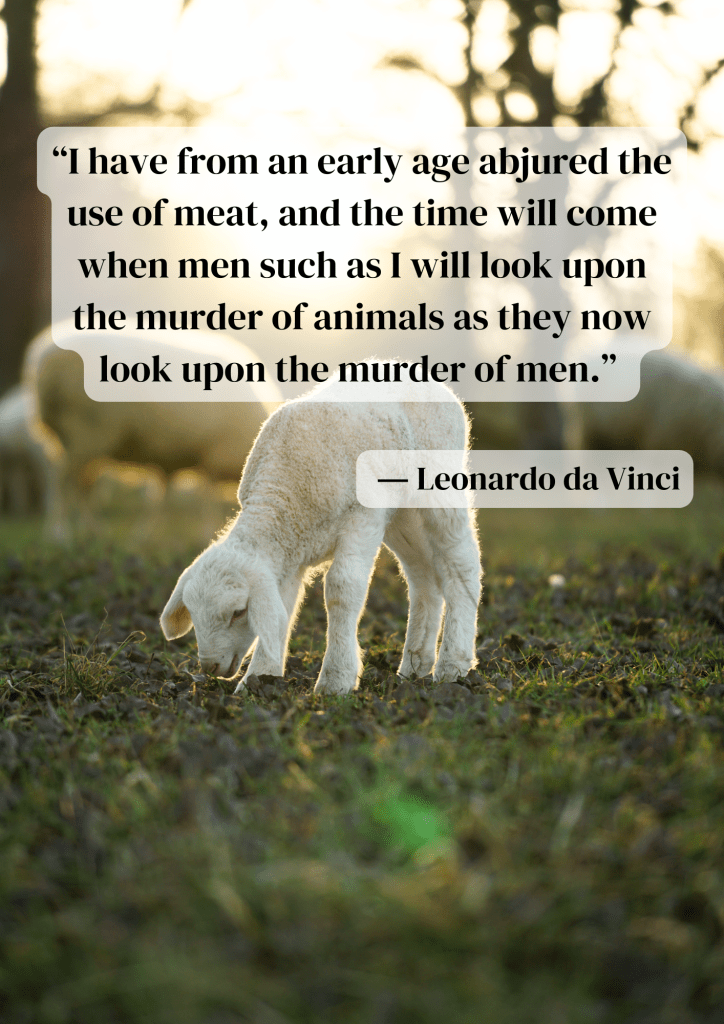
Recipe Sunday – Chocolate Almond Butter Chia Pudding

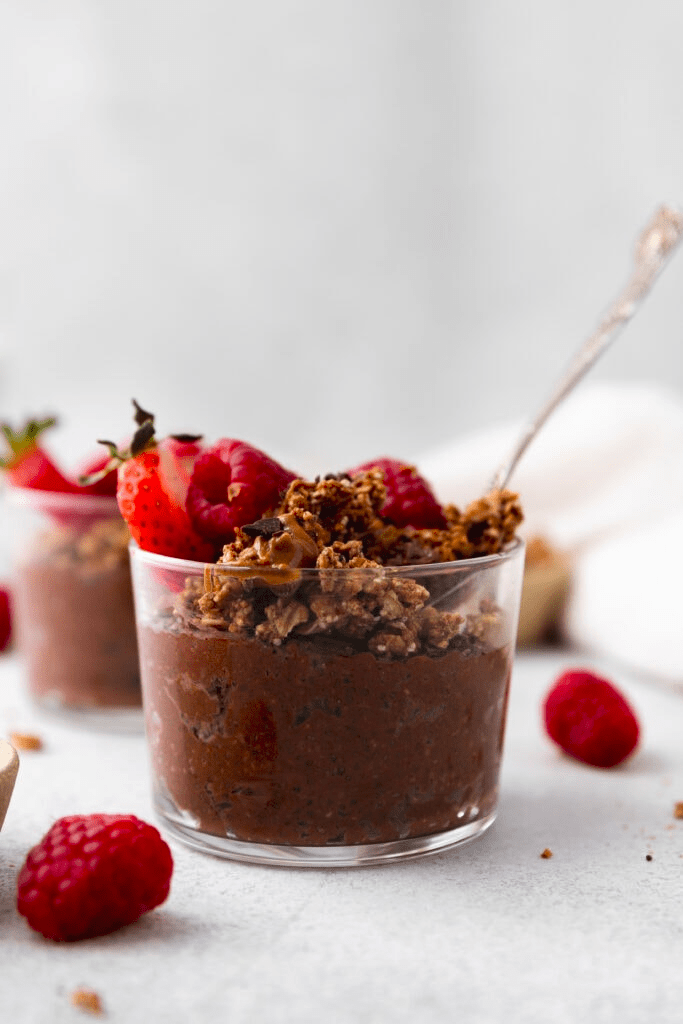
Happy Sunday, beautiful kittens! How are you? Are you enjoying your weekend? In some places of the UK, this is a holiday weekend, but alas, that’s not where I work so this is a normal weekend for me. Oh well, doesn’t really matter because I managed to have a lovely day yesterday with my partner (went to an artisan/farmers market in town and the vegan and cruelty-free products were almost everywhere!), then to the vegan cafe for a light lunch, a nice walk, made dinner and chilled watching The Last of Us (yes, we’re quite behind schedule in watching this series compared to the rest of the world). Today was another relaxing day, although I also managed to tidy up the place and throw away stuff that I don’t need and can’t be donated. Also, it happened! THE OVEN IS HERE! It arrived on Wednesday and I’m excited to try all the recipes that I’ve been saving for roasted veggies, baked goods etc. But today wasn’t the day: after all the tidying/cleaning I didn’t have any more energy to dive into a baking recipe. So I hereby present you with this recipe for a Chocolate Almond Butter Chia Pudding by AllTheHealthyThings.

Ingredients

  • ¼ cup  chia seeds
  • ½ cup almond milk
  • ½ cup canned coconut milk
  • 2 tablespoons cocoa powder
  • 2 tablespoons almond butter
  • 2 tablespoons maple syrup
  • 1 teaspoon vanilla extract
  • ¼ teaspoon cinnamon

Method

  1. Whisk together all of the ingredients except the chia seeds.
  2. Add the chia seeds and whisk again until well combined.
  3. Pour the mix into a glass storage container and place it in the refrigerator. After a few minutes, give it another stir to make sure everything is evenly combined.
  4. Leave the chia pudding in the fridge overnight. In the morning give it a good stir and then top it with fresh berries, your favorite granola, and nut butter.

Enjoy!

Love,

TVCL xx

Recipe Sunday – Double Chocolate Mug Cake

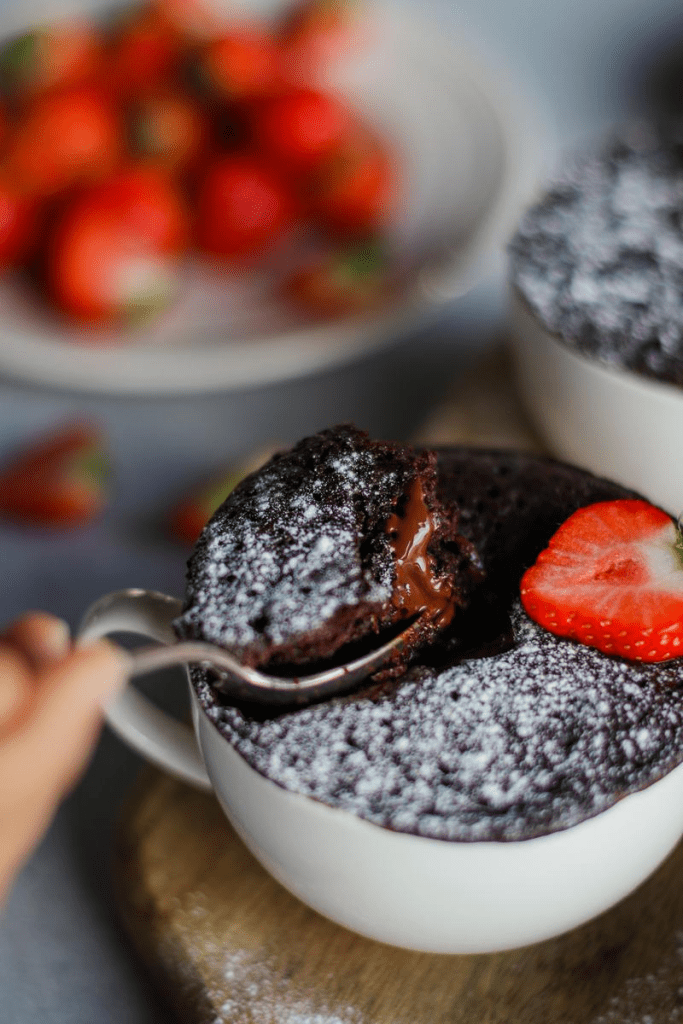
Hey lovely peeps! How are you enjoying this weekend? I was working yesterday and the week has just been mental, non-stop, 2 meetings to attend (one very interesting with potential for a big community project!) and 2 events – ooft, I would need a week to recover and not just one day (when will we go for a 4-day week instead of 5-day?!?). But I also managed to see a good friend for a beautiful foraging walk and helped a lot to recharge the spirit! And still no oven in the new place, but you know me and my sweet tooth so I am here to present you the perfect mug-cake recipe: Double Chocolate Mug Cake by PickUpLimes.

Double Chocolate Mug Cake by PickUpLimes

Ingredients

  • 2 Tbsp (17 g)all-purpose flour
  • 2 Tbsp (13 g) Dutch processed cocoa powder)
  • 2 Tbsp (28 g)granulated sugar
  • ¼ tsp baking powder
  • 1 pinch salt
  • 3 Tbsp (45 mL)unsweetened soy milk
  • 1 Tbsp (15 mL)vegetable oil
  • ¼ tsp pure vanilla extract
  • 0.7 oz (20 g) dairy-free dark chocolate

Optional toppings

  • fresh mixed berries
  • powdered sugar
  • vegan ice cream

Method

  1. In a large microwave-safe mug, mix together the flour, cocoa powder, sugar, baking powder, and salt.
  2. Then add the milk, oil, and vanilla. Mix until just combined. Be careful not to over-mix.
  3. Using your fingers, press half of the chocolate into the middle of the cake batter in your mug. This is so you have some melted chocolate in the centre of your cake (yum!). Add the other half of the chocolate to the top of the batter.
  4. Microwave on high (800 – 900 W) for 2 minutes*, or until a toothpick inserted into the centre comes out clean. If the cake isn’t cooked through yet, place it back in the microwave at intervals of 15 seconds.
  5. Let the mug cake cool slightly, add your desired toppings, and enjoy!

I hope you’ll enjoy this easy and quick recipe!

Love,

TVCL xx

Recipe Sunday – EASY Instant Pot Red Lentil Curry

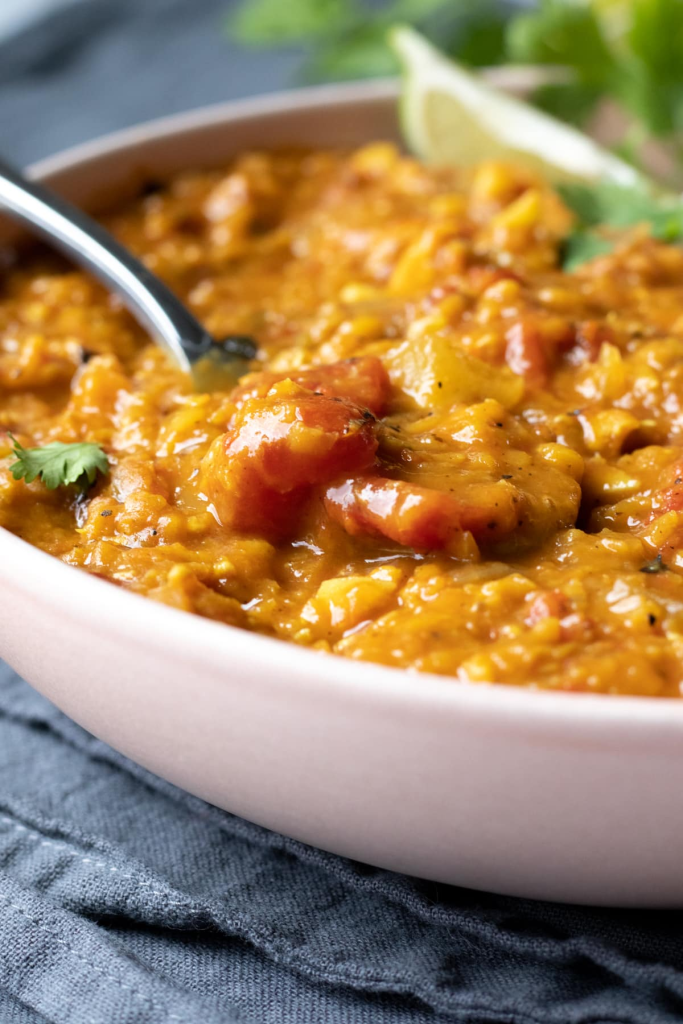
Hello beauties! It’s been another manic week, there are so many things to do and time just flies! But I’m trying not to panic and my “word of the year” which is balance for me this year, is always with me. So, having nice, comforting food is a must especially in this time, and this Easy Instant Pot Red Lentil Curry by MyQuietKitchen is exactly what I need to get me through these busy days.

Easy Instant Pot Red Lentil Curry by MyQuietKitchen

Ingredients 

  • 1 large yellow onion, chopped
  • 4 to 6 cloves garlic, minced
  • 1 thumb size piece of fresh ginger, peeled and zested or minced
  • 1 (14 ounce) can light coconut milk
  • 1 (28 ounce) can diced tomatoes
  • 1 ¼ cups dry red lentils
  • 2 cups soy curls or 1 cup TVP
  • 1 heaping tablespoon mild curry powder
  • 1 teaspoon cumin
  • 1 tablespoon tamari (for GF) or soy sauce
  • 1 teaspoon fine sea salt
  • black pepper
  • 2 ¼ cups water

Method 

  1. Note: to avoid a burn warning on the Instant Pot it’s important to measure accurately and avoid major adjustments to the the wet/dry ratio.
  2. Combine all ingredients in the Instant Pot (onion – water), and stir very well. If using soy curls/TVP, these go in dry; no need to soak first. Lock on the lid, set to sealing, and cook on high pressure for 5 minutes.
  3. Carefully flip the toggle to manually release the pressure. Serve with rice or potatoes, a squeeze of lime juice, and fresh cilantro, if desired. Lentil curry is also great with a dollop of plain vegan yogurt.

I hope you’ll find this recipe as delicious as I do!

Love,

TVCL xx

Recipe Sunday – Raw Vegan Hemp Seed Brownies

Hello beauties! How are you? The past few days have been so busy with my parents visiting: the last time they managed to come it was almost 6 years ago and I moved a couple of times since then so there has been a lot of exploring for them and it’s been just lovely! And with this busy time (still no oven!), I wanted a quick sweet to make hence these Raw Vegan Hemp Seed Brownies by RunningOnRealFood – delicious quick dessert for this busy and warm time. Here is the recipe

Raw Vegan Hemp Seed Brownies by RunningOnRealFood

Ingredients

For the Brownies

For the Chocolate Ganache

Method

  1. Add the walnuts to a food processor and blend into a grainy consistency. It’s ok if there are some larger pieces left behind but they should be mostly broken down.
  2. Add the rest of the brownie ingredients and blend again, starting with 2 tbsp of water, until you have a thick sticky dough. You should be able to press it together into a ball between your fingers. If needed, add the additional tablespoon of water and blend again.
  3. Line a 7 or 8-inch square baking pan with parchment paper so it sticks out over the edges of the pan. This will make it easy to lift the finished brownies from the pan. Firmly press the dough into the pan, taking time to work it into all the corners and even the surface.
  4. Melt the chocolate chips in a microwave-safe bowl in the microwave or by using a double boiler. If using the microwave, stir every 15-20-seconds until they’re mostly melted and you can mix to melt in any remaining chocolate chips. Add the coconut milk or cream and stir until fully combined and smooth.
  5. Spread the ganache over the brownies, smoothing with a spatula or the back of a wooden spoon.
  6. Top Brownies with Ganache: Spread the ganache over the brownies, smoothing with a spatula or the back of a wooden spoon.
  7. Freeze: Place the pan in the freezer for 1-2 hours or until the ganache is firm. 
  8. Slice: Lift the brownies out of the pan using the edges of the parchment paper. Slice into 16 squares and enjoy. Store remaining brownies are best stored in the freezer.

I hope you’ll enjoy them!

Love,

TVCL xx